Dear creative friends,
Today I invite you to discover a secret that will transform your coloring pages into real works of art: the magic of shades.
As an educator, I have always admired children's ability to create fantastic worlds with colors. But we adults can also rediscover this joy, exploring advanced coloring techniques that allow us to bring our pages to life, adding depth, realism and emotions.
Have you ever wanted your favorite characters to seem to jump off the page? Or that the landscapes you colored were so vivid you could almost touch them? With the right blending techniques, all this is possible!
1. Beyond Flat Color: Why Shades Matter
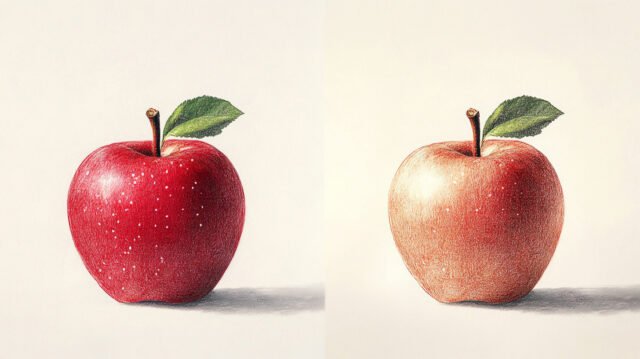
Comparison between a flat drawing and a gradient drawing, showing how gradients create depth and realism.
Imagine a world without shadows, without lights, without depth. It would be a flat, two-dimensional world, devoid of realism and emotion.
This is precisely where the magic of shades comes into play. Through the skilful use of light and shadow, we can create the illusion of three-dimensionality, giving shape and volume to our pages.
Light as Sculptor
Think of the sunlight caressing a ripe fruit, creating a play of light and shadow that enhances its shape and texture. Or imagine a person's face, with its delicate nuances that reveal hidden emotions and thoughts.
Light is like an invisible sculptor, modeling shapes and creating depth. And we, through the nuances, can recreate this magic on paper.
A Touch of Realism
Gradients allow us to add a touch of realism to our pages, making them more vivid and engaging. A wild animal with shaded fur will seem almost ready to leap out of the page, a landscape with delicate shadows and lights will transport us to a distant world.
But the nuances are not just a matter of realism. They can also be used to create suggestive atmospheres, to express emotions and to give a personal touch to our designs.
2. The Right Pencils: Essential Tools for Blending
To create perfect shades, it is important to choose the right colored pencils. Not all pencils are the same! Some are softer and creamier, ideal for blending and creating delicate transitions, while others are harder and more pigmented, perfect for defining details and creating contrasts.
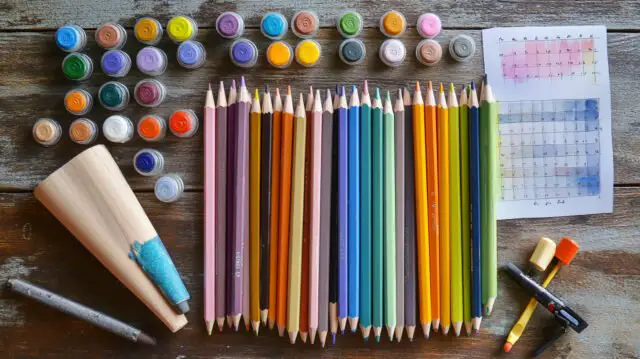
A selection of colored pencils of different types (wax-based, oil-based, watercolor) and blending tools, such as a blender.
Wax-Based Pencils vs. Oil-Based Pencils
Wax-based colored pencils are the most common and versatile, perfect for starting to experiment with the shading technique. They are easy to use and can be blended easily with a finger or a cotton swab.
Oil-based colored pencils, on the other hand, are softer and creamier, and offer greater color intensity and better blending ability. They are ideal for creating rich, deep shades, but require a little more practice to get the most out of them.
The Right Paper Makes the Difference
The choice of paper is equally important. A smooth, thin paper may not hold pigment well and make blending difficult. Instead, opt for a rough paper or one with a light texture, which allows the pencils to adhere better and create more uniform shades.
Smudgers and Blenders: Your Creative Allies
To obtain perfect shades, you can use special tools such as blenders or blenders. These tools, available in different shapes and sizes, allow you to blend colors precisely and uniformly, creating delicate and imperceptible transitions.
3. Shading Techniques: Bring Your Designs to Life
Now that we have chosen the right materials, we are ready to immerse ourselves in the magical world of shades! Here are some basic techniques you can try:
Layering: Layers of Color that Merge
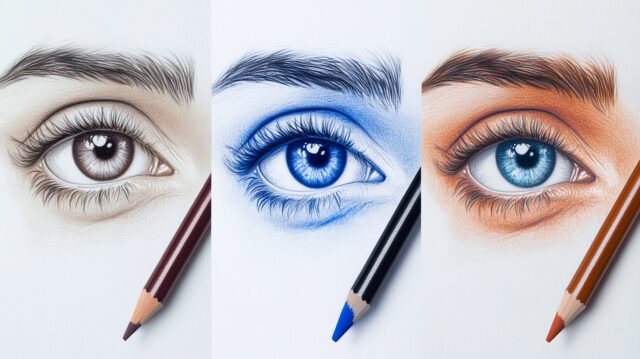
Three images showing the layering process with colored pencils, starting from a light shade and gradually adding darker shades.
The layering technique consists of applying different layers of color, starting from the lighter shades and gradually arriving at the darker ones. This way, you can create delicate and realistic shades, giving the illusion of volume and depth to your pages.
Suggestion: Start with light pressure and gradually increase it as you add layers of color.
Burnishing: The Perfect Fusion
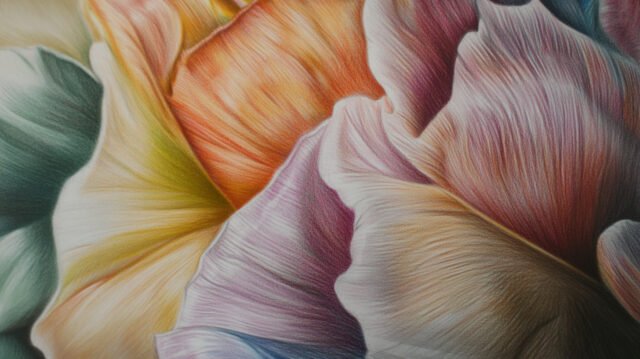
Close-up of a colored pencil drawing where the colors have been completely blended with a colorless blender, creating a smooth, uniform surface.
Burnishing is a technique that consists of forcefully pressing the colored pencil onto the paper, in order to completely blend the pigments and create a smooth and uniform surface. This technique is ideal for creating light effects and reflections, or for giving a touch of realism to surfaces such as metal or glass.
Suggestion: Use a colorless blender or a white pencil to further blend the colors and obtain an even smoother and more uniform effect.
Hatching and Cross-Hatching: Lines That Create Texture
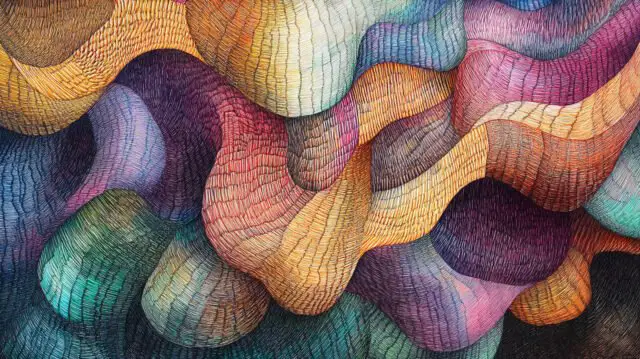
Drawing of a textured surface (for example, wood or fabric) made using hatching and cross-hatching techniques with colored pencils.
Hatching and cross-hatching are techniques that use parallel or crossing lines to create shading and texture. Hatching involves drawing parallel lines, while cross-hatching involves crossing lines in different directions. These techniques are perfect for creating depth, texture and movement effects in your pages.
Suggestion: Experiment with different distances between the lines and with different pressures to achieve different effects.
Circular and Directional Hatching: Movement and Dynamism
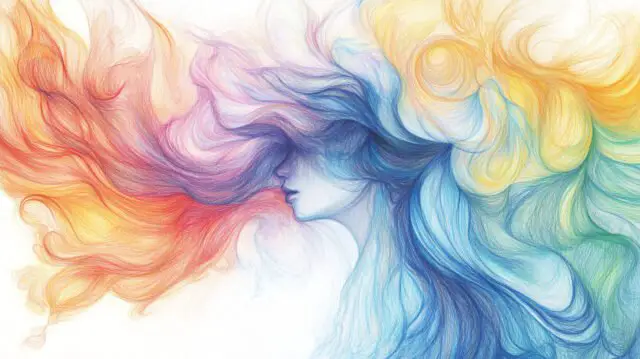
Drawing of flowing hair or water made with circular and directional strokes with colored pencils.
Circular and directional hatching are techniques that use curved or oblique lines to create effects of movement and dynamism. Circular hatching is ideal for creating soft, rounded gradients, while directional hatching can be used to represent the movement of hair, grass, or water.
Suggestion: Play with the direction and length of the lines to create different effects.
4. Light is the Key: Creating Light Points and Reflections
Light is what brings our pages to life, creating contrast, depth and a sense of realism. Through the skillful use of light and shadow, we can transform a simple drawing into a three-dimensional work of art.
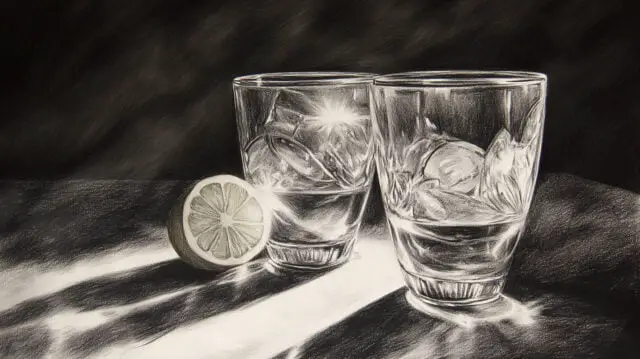
Still life with a point of light on a shiny object, created with a white pencil or a rubber eraser.
Points of Light: The Spark that Ignites the Image
Highlights are areas of the design that reflect light more intensely, creating an effect of brilliance and luminosity. They can be used to highlight important details, such as a character's eyes or dewdrops on a flower, or to create a focal point that draws the viewer's attention.
To create light points, you can:
- Leave areas blank: If you are coloring with colored pencils or crayons, you can simply leave some areas of the drawing white to represent highlights.
- Use a white pencil: If you want to add highlights on an already colored area, you can use a white pencil to create a reflection effect.
- Use a bread eraser: The bread eraser is a versatile tool that can be used to delicately “lift” the color and create highlights or lighter shades.
Reflections: The Dance of Light on Surfaces
Reflections are light that reflects off a surface, creating an effect of shine and depth. They can be used to represent the glare of the sun on water, the reflection of a window on a shiny floor, or the shine of an animal's fur.
To create reflections, you can:
- Use lighter colors: Overlay lighter layers of color in the areas where you want to create reflections.
- Use a white pencil or blender: Create lines or highlights with a white pencil or delicately blend the color with a blender to obtain a shine effect.
- Play with contrasts: Create contrasts between the light and shadow areas to accentuate the effect of depth and realism.
Conclusion: Shades of Emotions and Creativity
Dear friends, I hope that this journey into the world of shades has inspired you to experiment with new techniques and give free rein to your creativity. Remember, there are no fixed rules in coloring: the important thing is to have fun and let your imagination guide you.
Each coloring page is a blank canvas ready to welcome your colors, your emotions and your unique vision of the world. Don't be afraid to go outside the edges, to make mistakes, to experiment. Each stroke of color is a step towards creating a personal masterpiece, a work of art that speaks of you and your soul.
I invite you to explore the vast collection of coloring pages on Disegnidacoloraremondo.com and share your creations with our community.
Together, we can color the world with joy and imagination!

Since she was little, Ornella has always seen the world as a canvas to be filled with colours. Transforming a blank sheet of paper into a work of art was her greatest passion and the one that led her to create Disegnidacoloraremondo.com. With training as a teacher, Ornella understands the value of coloring in children's development. Through the site, she shares her love for art and creativity, dreaming of a world where everyone can express themselves at their best.